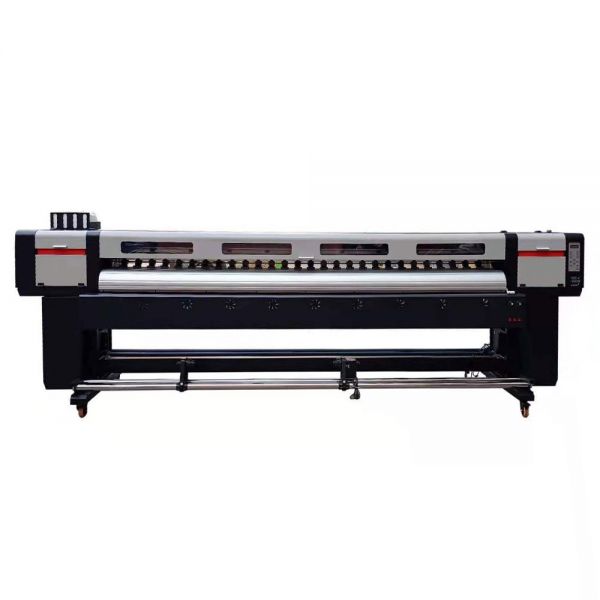
3.2m Eco Solvent Printer with 2 Epson I3200E Printheads
Product Description:
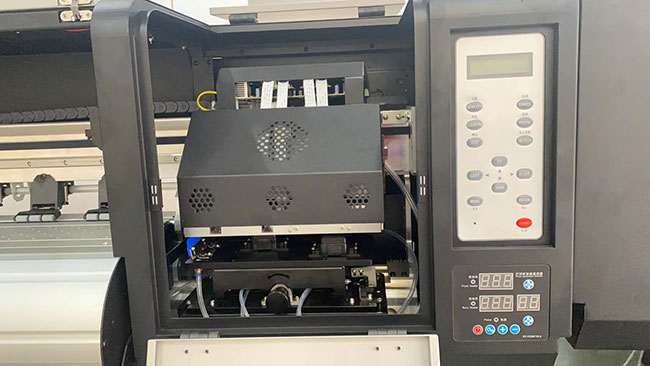
1.The main beam adopts the latest bridge design scheme, and the structure is more perfect and stable.
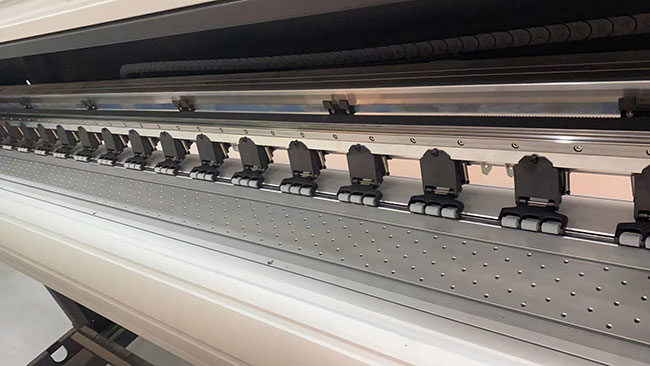
2.Hiwin silent linear guide, less noise, longer life.
3.the car anti-collision function, greatly reducing the chance of accidental injury to the nozzle.
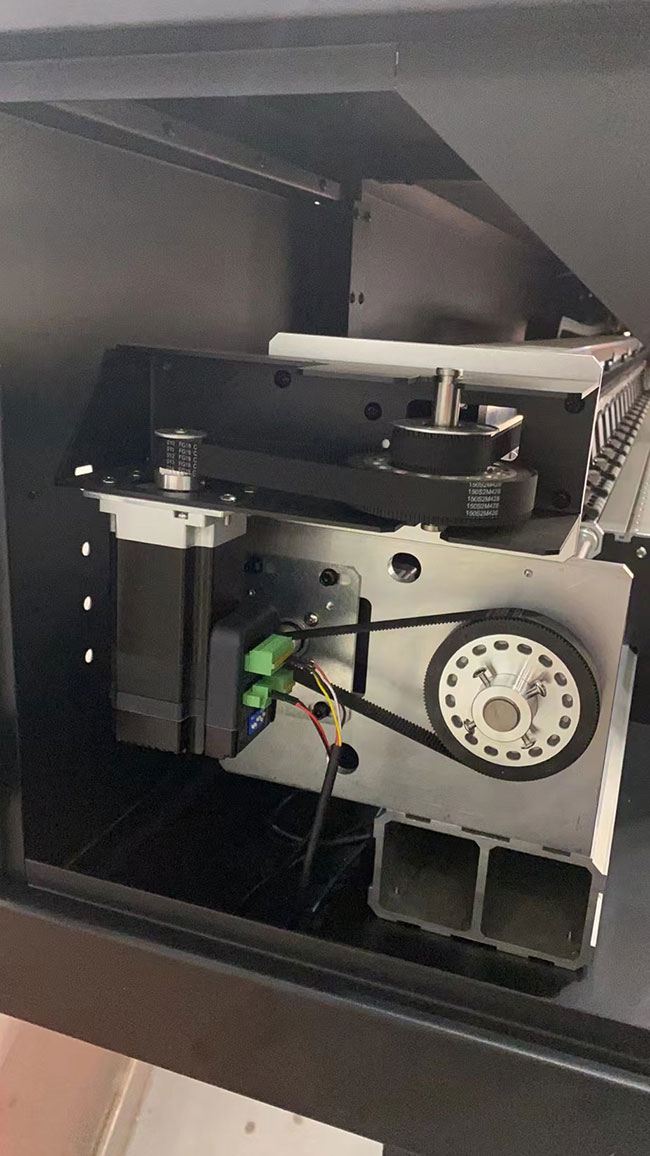
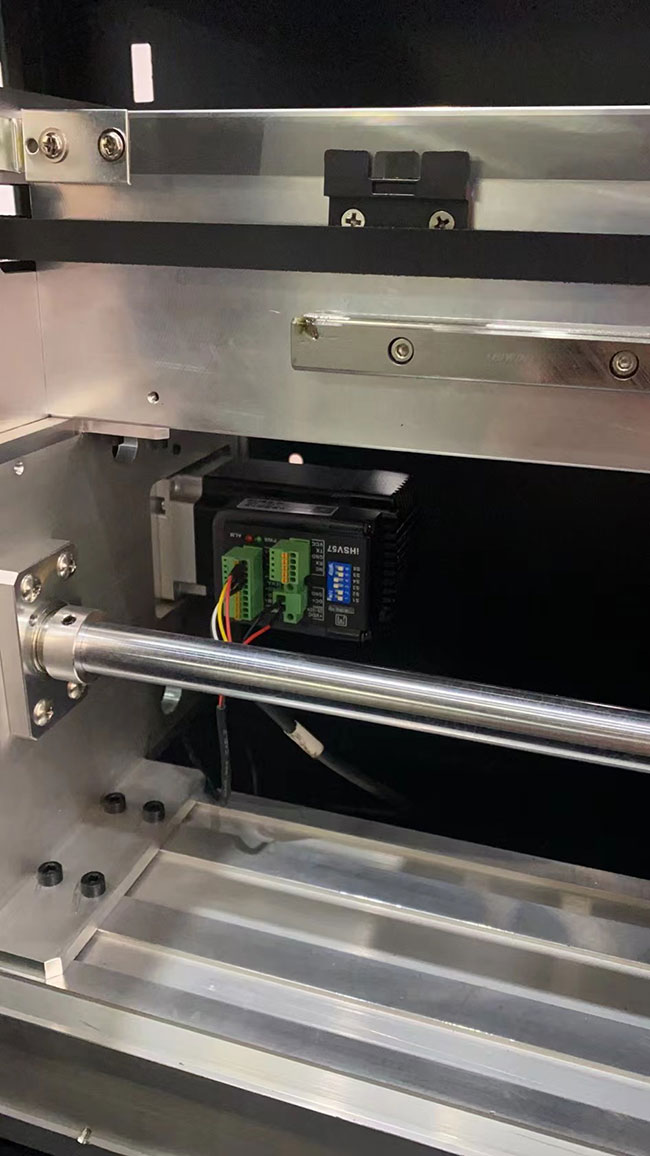
4.The trolley adopts the Raytheon servo motor, which drives the linear decoding with high precision, with small error and more stable performance.
5.The intelligent drying system is synchronized with the printing, that is, it is dry, safe and energy-saving.6.one central axis, platform partition suction, make paper more stable and more accurate.
7.lifting smallframe, according to printing supplies, free to adjust the height of the nozzle,easy to adjust.8.lack of ink, paper shortage alarm system, more intelligent, humane.
9.HOSON Gigabit network port board, high performance, high precision, high speed.
10.GigabitEthernet port data transmission, anti-interference, transmission stability is not interrupted, paper is not stuck.11.2.5Llarge ink cartridge design, secondary ink system, long-term printing and continuous ink.
Specification:
| Print Head |
2pc I3200 |
| Print speed |
Draft 3pass: 40m²/h |
| Production 4pass: 30m²/h |
| High quality 6pass: 20m²/h |
| Ink type |
Sublimation ink, water-basic ink, ECO Solvent Ink |
| Ink supply method |
2.5L large ink bottle continuous system, lack of ink alarm |
| Width |
3200mm |
| Material type |
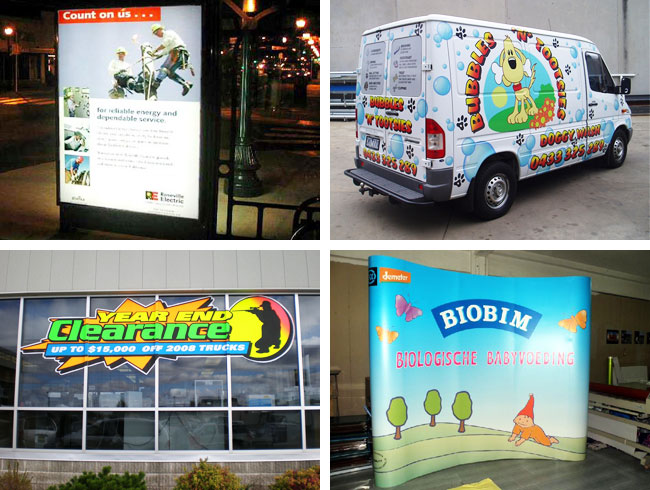
Canvas, sticker, flex banner |
| Head height |
from 2-8mm stepless adjustable |
| Heating system |
lnfrared segment heating,air drying double drying |
| Anti-warping paper |
Combined uniform resistance anti-warping paper |
| Automatic collecting device |
Heavy bearing around 60KG |
| Data transfer interface |
Gigabit network port |
| RIP Software |
MainTop |
| Input power |
220V,Printer 1KW, Dryer 6KW |
| Packing Size |
4730*1010*830MM |
| Gross Weight |
500kg |
Details:
Install the tripod:
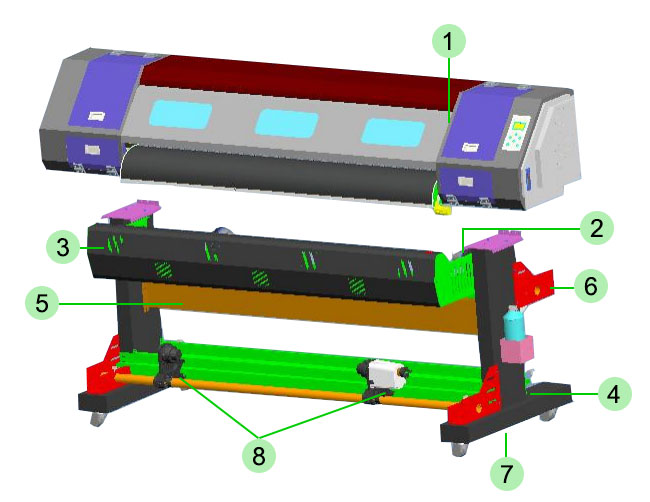
Component Names:
1.Main Body
2.Paper Feeding System
3.Dryer
4.Iron Legs
5.Crossbeam
6.Support Fixing Plate
7.Leg Frame
8.Paper Collecting System
Leg Frame Installation:
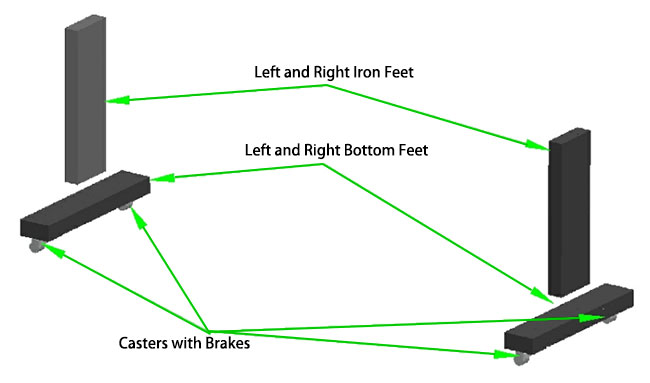
1. Install the left and right base feet at the bottom ends of the left and right iron legs, and secure them using 8 inner hex bolts (M5×10). Attach the casters with brakes to the left and right base feet using 16 inner hex bolts (M5×10).
Note: Tighten in the direction of the arrow, as shown in the diagram.
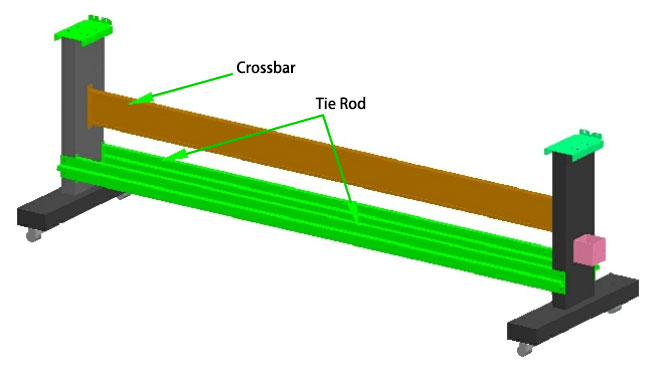
2. Install the tie rods and crossbeam between them and secure with 22 inner hex bolts (M5×10), as shown in the diagram.
3. Fix the support fixing plate to the left and right iron legs and the left and right base feet using 6 inner hex bolts (M5×10).
Then, secure both ends of the support fixing plate using 4 inner hex bolts (M6×25).
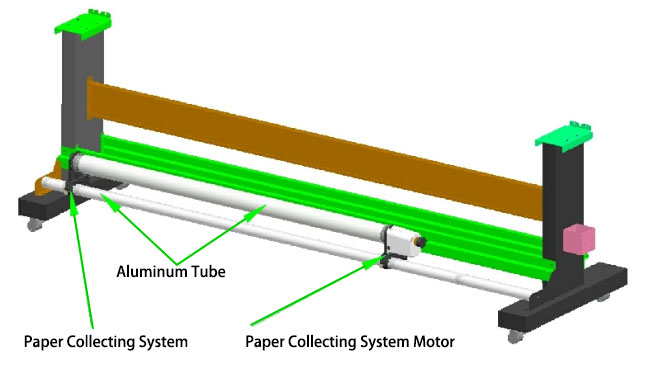
Place the assembled paper collection motor module and the paper collecting module onto the aluminum tube.
Then secure them using 2 straight-knurled handles (M5×25) to the left and right support parts, as shown in the diagram.
4. Attach the fan support components to the left and right iron legs using 8 inner hex bolts (M5×10).
Then fix the assembled dryer onto the support using 8 inner hex bolts (M4×10), as shown in the diagram.
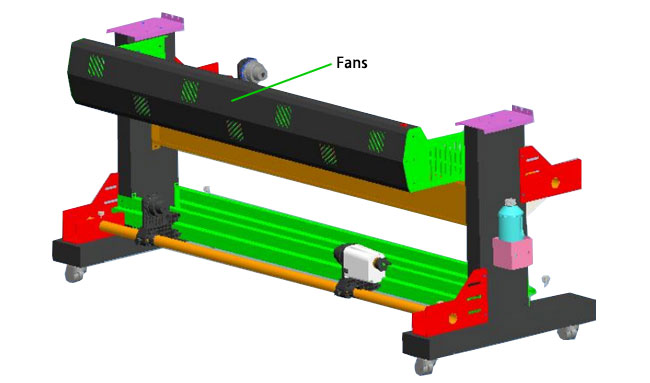
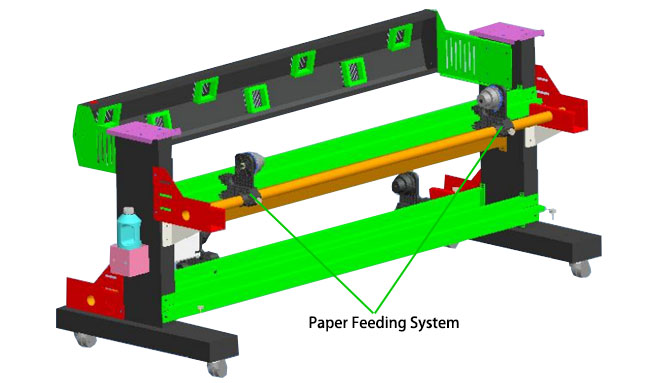
5. Fix the support fixing plate to the left and right iron legs and the base feet using 6 inner hex bolts (M5×10).
Then secure both ends of the support fixing plate using 4 inner hex bolts (M6×25).
Place the assembled paper feeding module onto the aluminum tube.
Then secure it using 2 straight-knurled handles (M5×25) to the left and right support parts, as shown in the diagram.
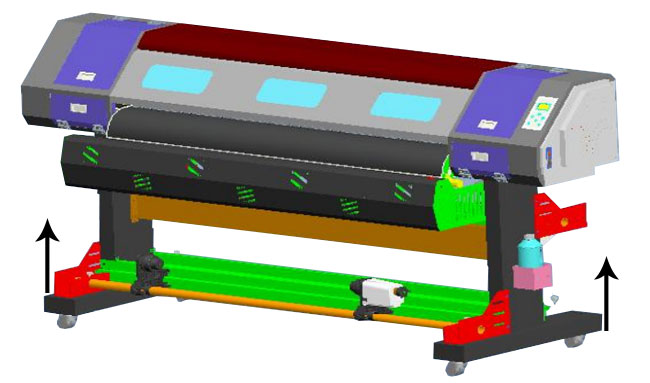
6. After completing the steps above, mount the main body onto the leg frame. Align the circular holes and secure using 4 inner hex bolts (M5×10) (tighten in the direction shown by the arrow), as shown in the diagram.
Applications: