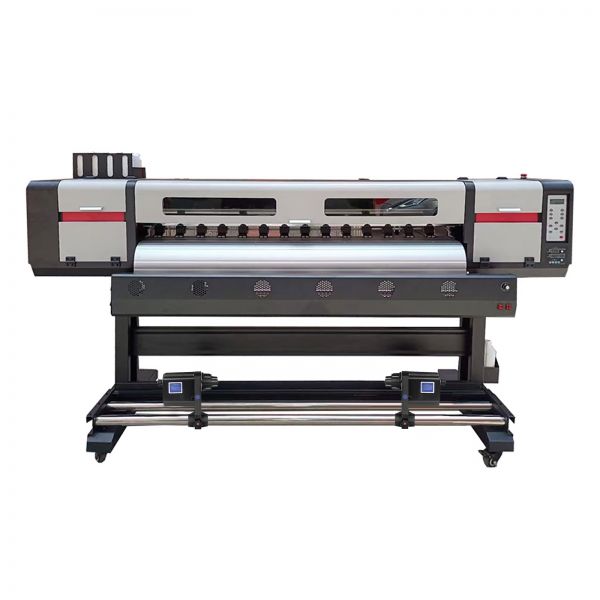
| Item Model |
PL-1980A |
| 1800mm |
| |
1H i3200A1 |
2H i3200A1 |
| Draft |
30 m²/H |
50 m²/H |
| Standard |
19 m²/H |
38 m²/H |
| Quality |
13 m²/H |
25 m²/H |
| 75KG |
| UNEQUIPPED |
| MaintopV5.3,Photoprint,Seeget,Torpaz,Wasatch,Onyx |
| AC 110V±10%,AC220V±10%,50/60±1Hz |
| Temperature:20°C~35°C;Humidity:35%RH~65%RH |
| 600W |
| L2837mm*W455mm*H1300mm |
| L2870mm*W820mm*H500mm |
| 140KG±5% |
| 185KG±5% |

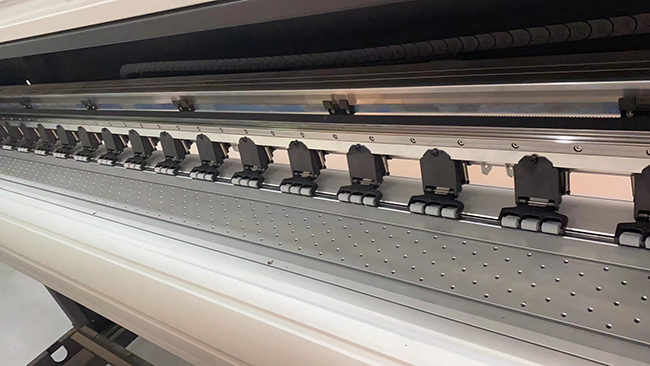
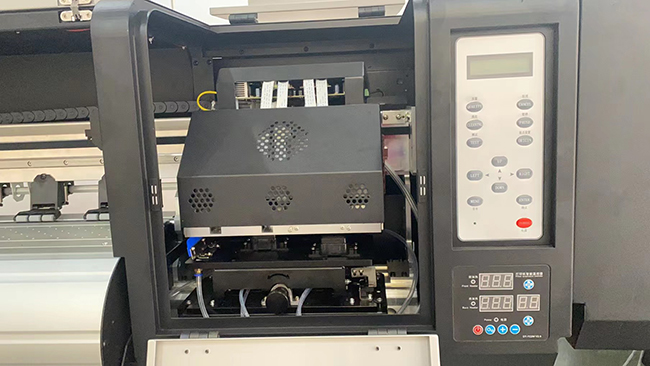
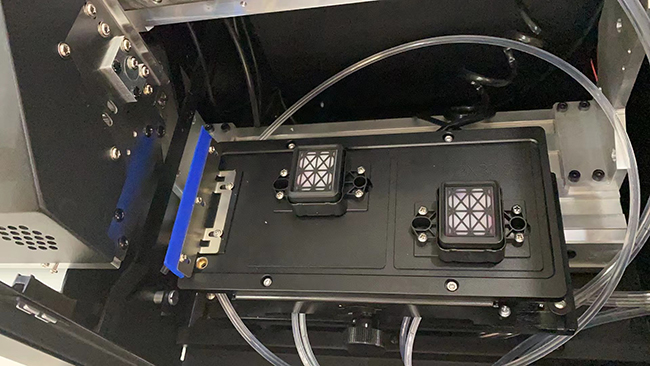
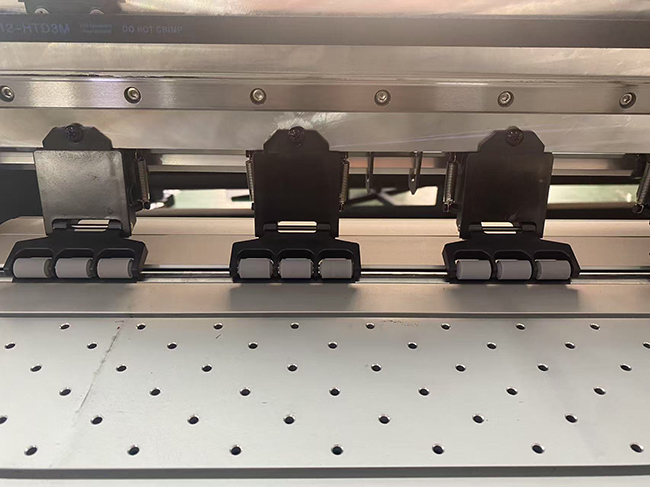
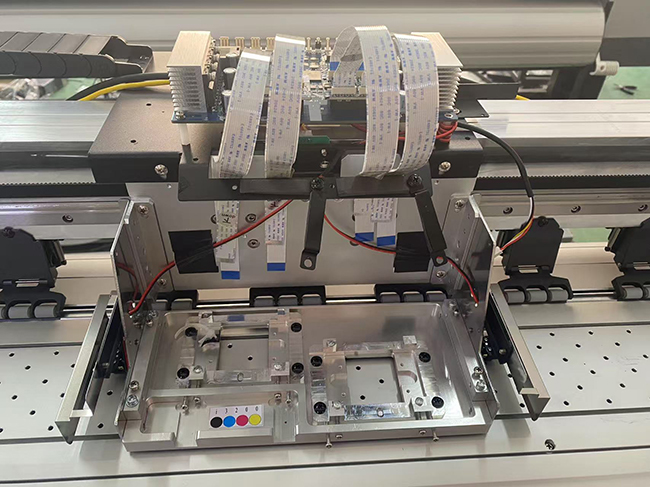
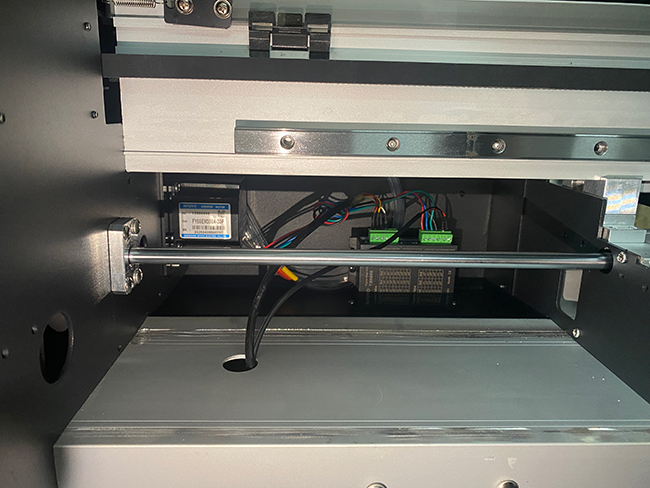
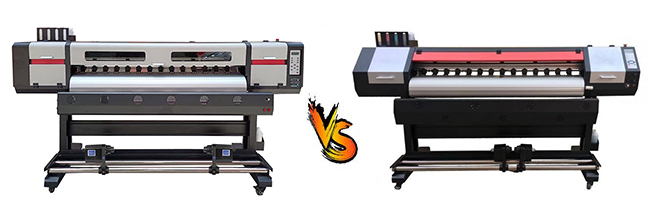 |
| Temperature Control |
 |
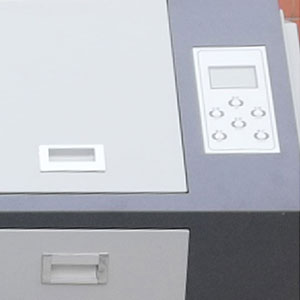 |
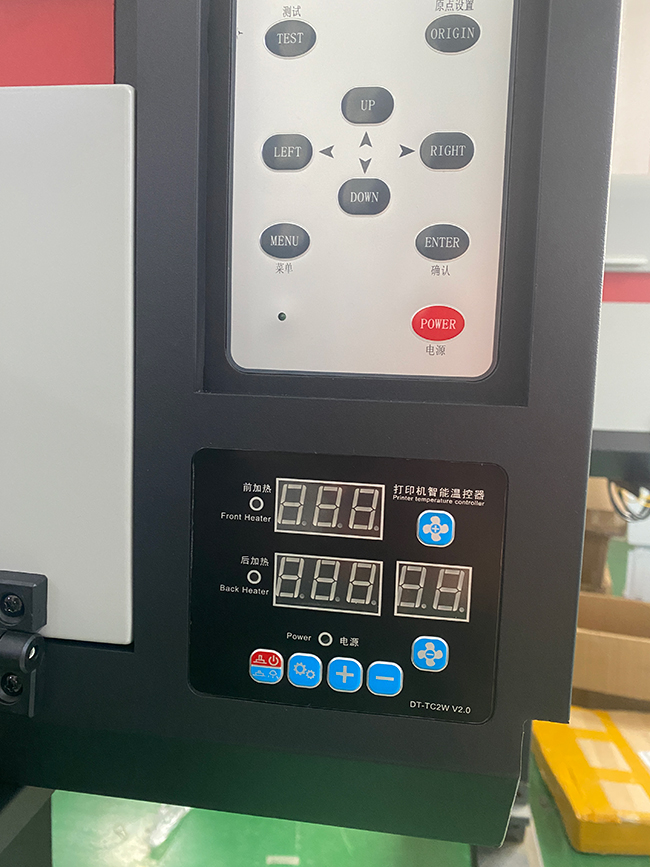
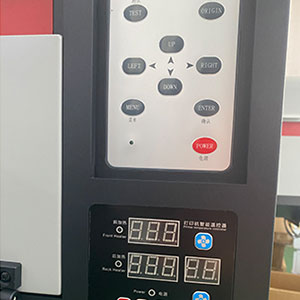
| Temperature control, capable of self regulating temperature |
No temperature control, only fixed temperature |
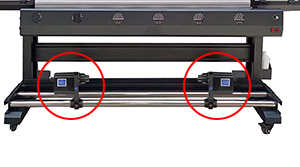
| Media Take-up Device |
 |
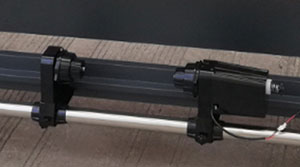 |
| 220V Single Motor Device, Adjustable winding speed and increased winding power |
24V Low-speed Device |
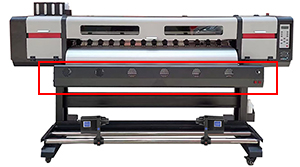
| Drying System |
 |
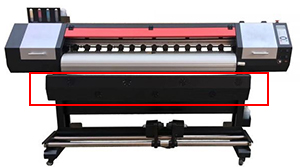 |
| 3000W infrared thermal drying+fan drying, easier to dry when printing at high speeds |
3000W infrared thermal drying+fan drying, easier to dry when printing at high speeds150W Fan Drying |
| Driver Motor |
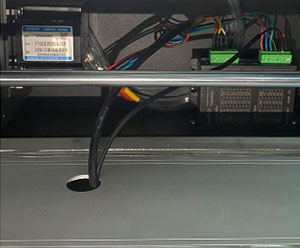 |
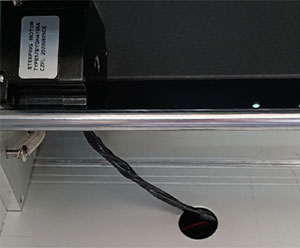 |
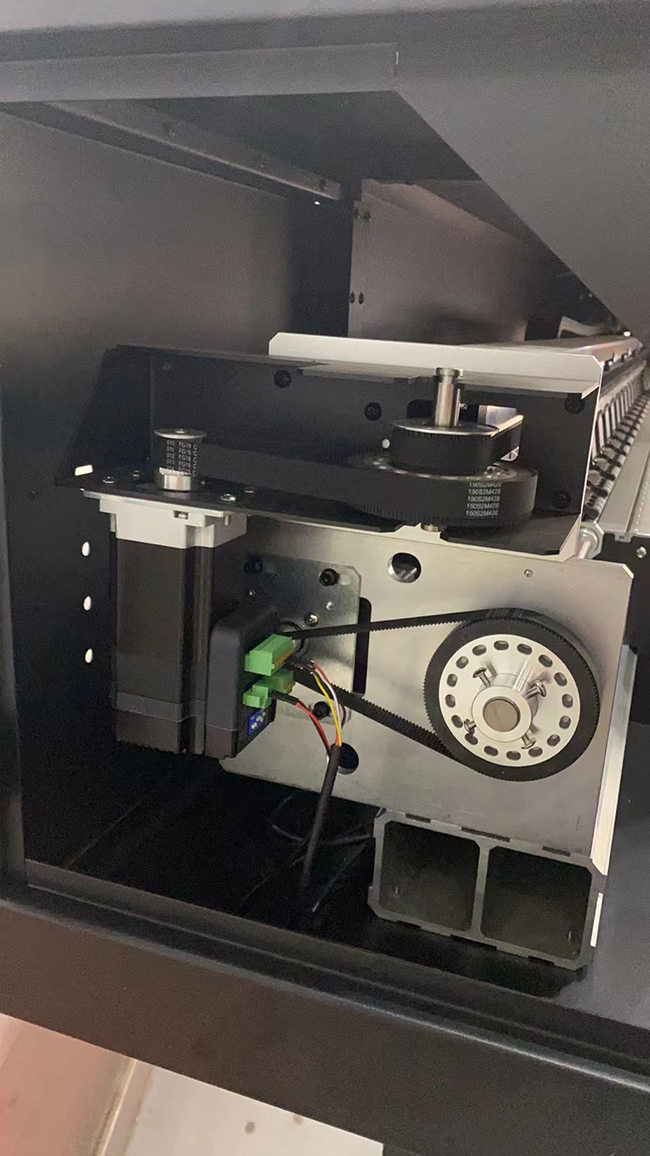
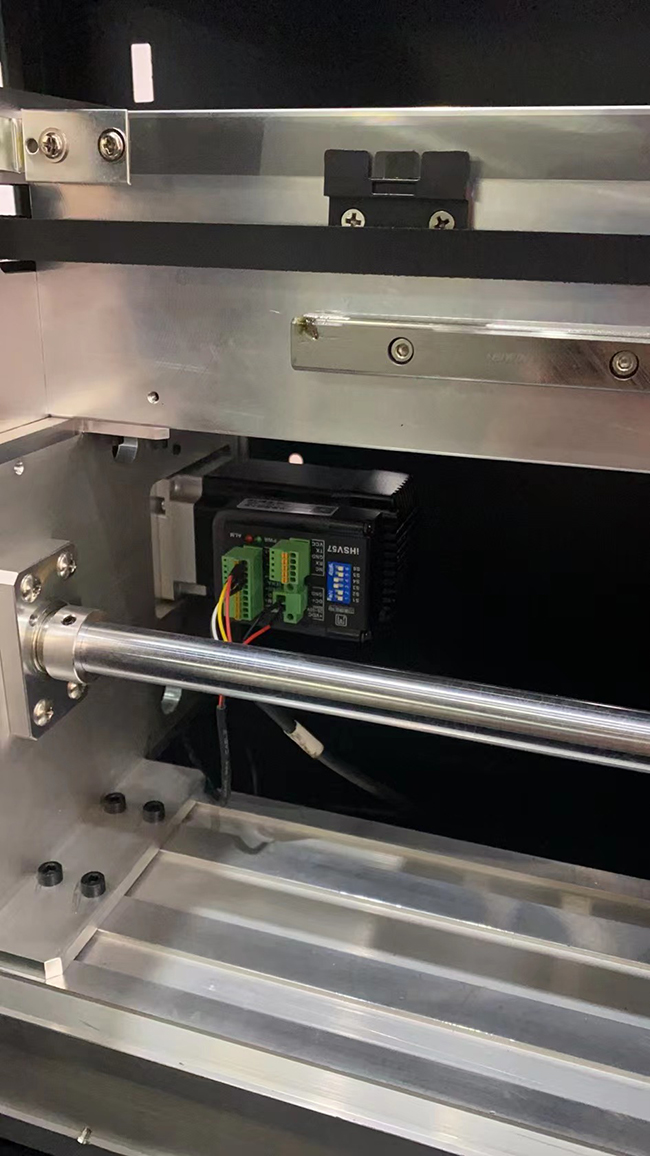
| Servo motor, faster speed |
Stepper Drive Motor |
| Main Ink Tank |
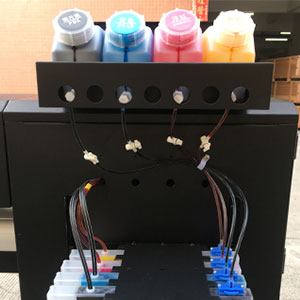 |
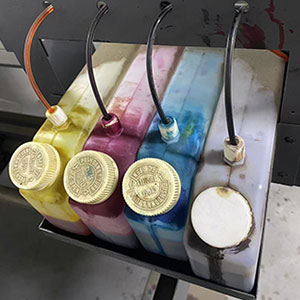 |
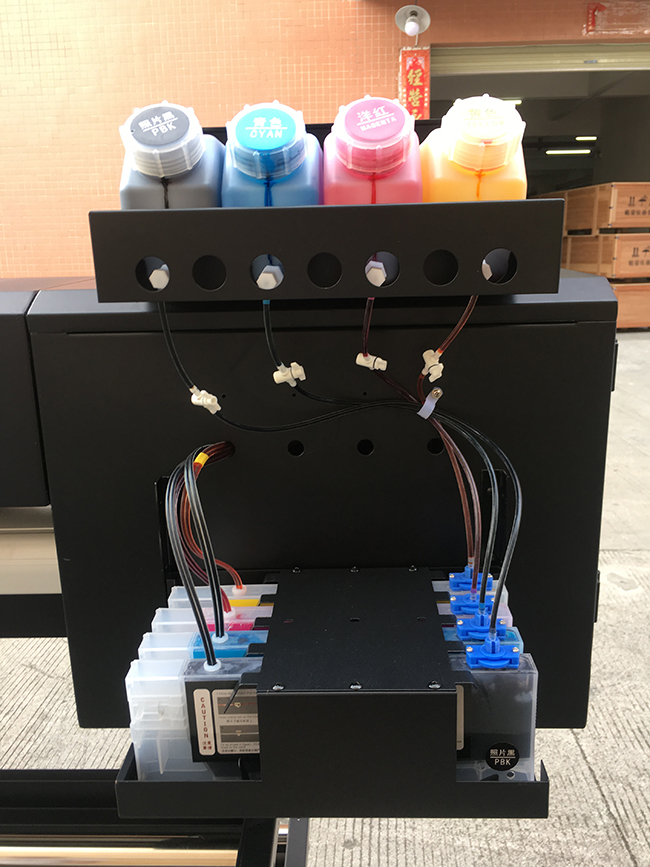
| Continuous supply system increases ink storage capacity and ink pressure, making it less likely for ink to run out during printing |
Low ink cartridge storage capacity and unstable ink supply |
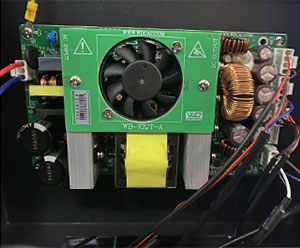
| Power Supply |
 |
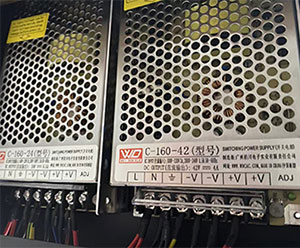 |
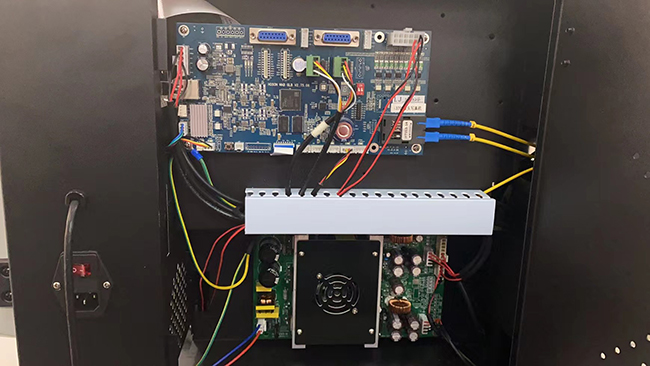
| Integrated power supply, more stable power control, convenient maintenance |
Split type power supply |
Install the tripod:
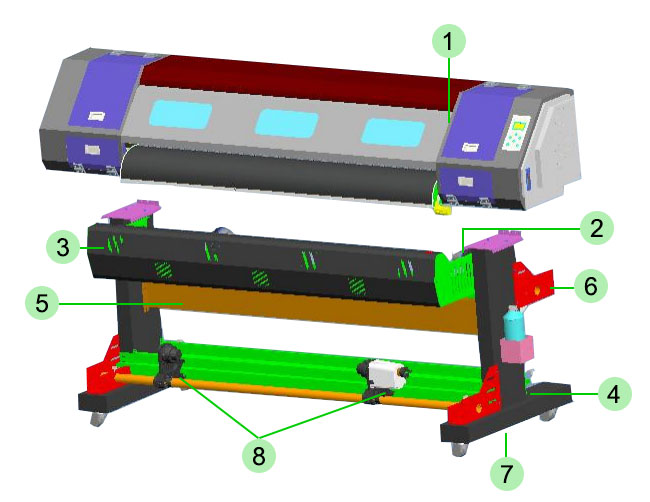
Component Names:
1.Main Body
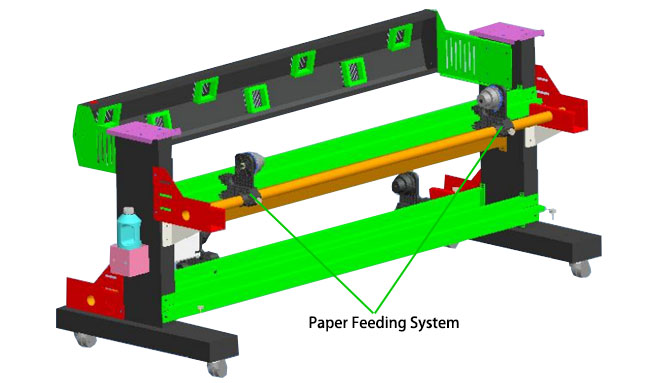
2.Paper Feeding System
3.Dryer
4.Iron Legs
5.Crossbeam
6.Support Fixing Plate
7.Leg Frame
8.Paper Collecting System
Leg Frame Installation:
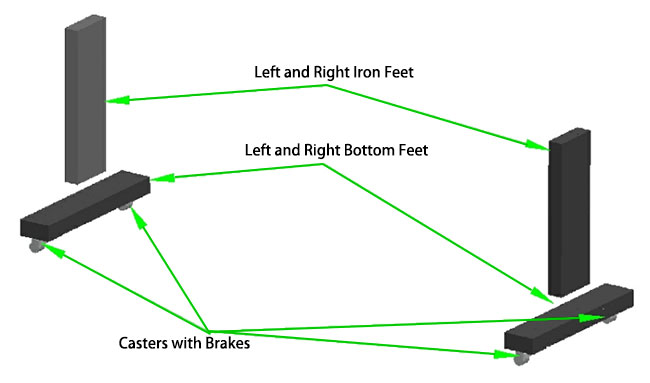
1. Install the left and right base feet at the bottom ends of the left and right iron legs, and secure them using 8 inner hex bolts (M5×10). Attach the casters with brakes to the left and right base feet using 16 inner hex bolts (M5×10).
Note: Tighten in the direction of the arrow, as shown in the diagram.
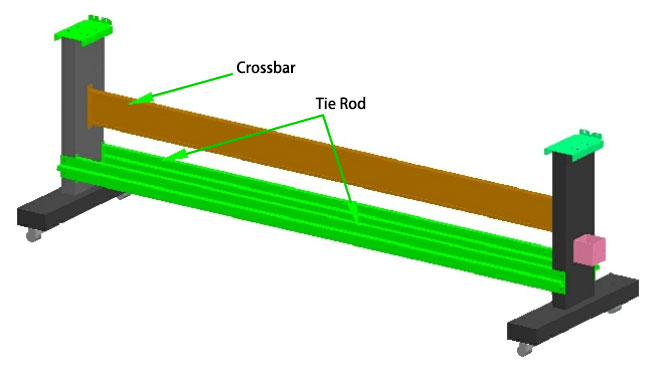
2. Install the tie rods and crossbeam between them and secure with 22 inner hex bolts (M5×10), as shown in the diagram.
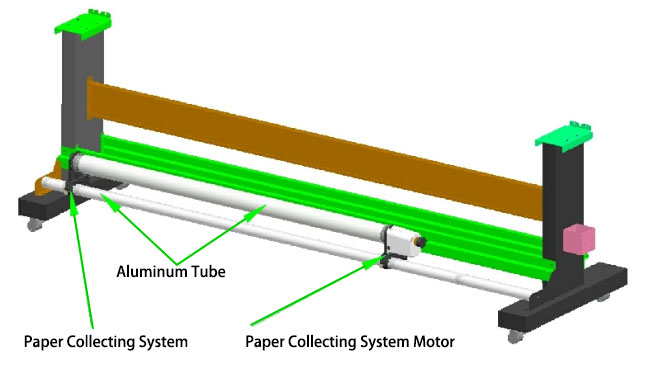
3. Fix the support fixing plate to the left and right iron legs and the left and right base feet using 6 inner hex bolts (M5×10).
Then, secure both ends of the support fixing plate using 4 inner hex bolts (M6×25).
Place the assembled paper collection motor module and the paper collecting module onto the aluminum tube.
Then secure them using 2 straight-knurled handles (M5×25) to the left and right support parts, as shown in the diagram.
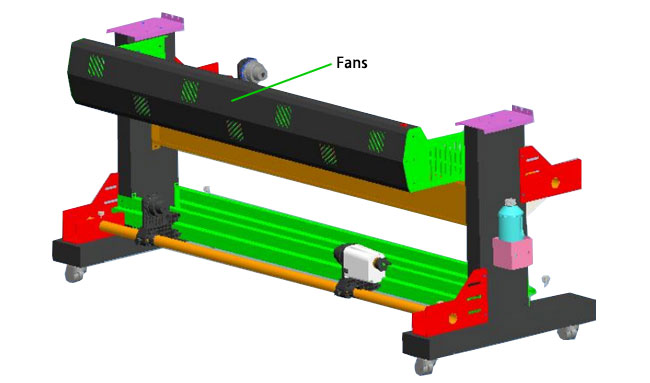
4. Attach the fan support components to the left and right iron legs using 8 inner hex bolts (M5×10).
Then fix the assembled dryer onto the support using 8 inner hex bolts (M4×10), as shown in the diagram.
5. Fix the support fixing plate to the left and right iron legs and the base feet using 6 inner hex bolts (M5×10).
Then secure both ends of the support fixing plate using 4 inner hex bolts (M6×25).
Place the assembled paper feeding module onto the aluminum tube.
Then secure it using 2 straight-knurled handles (M5×25) to the left and right support parts, as shown in the diagram.
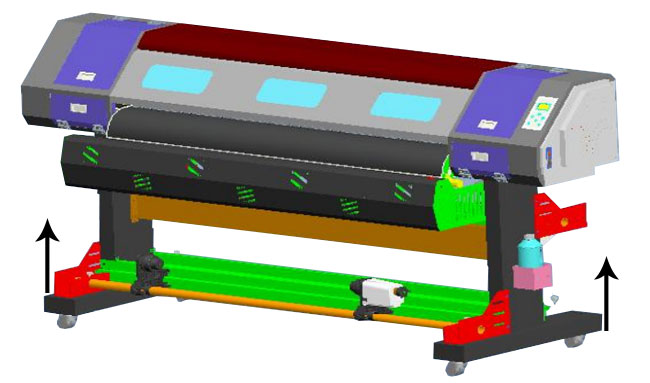
6. After completing the steps above, mount the main body onto the leg frame. Align the circular holes and secure using 4 inner hex bolts (M5×10) (tighten in the direction shown by the arrow), as shown in the diagram.

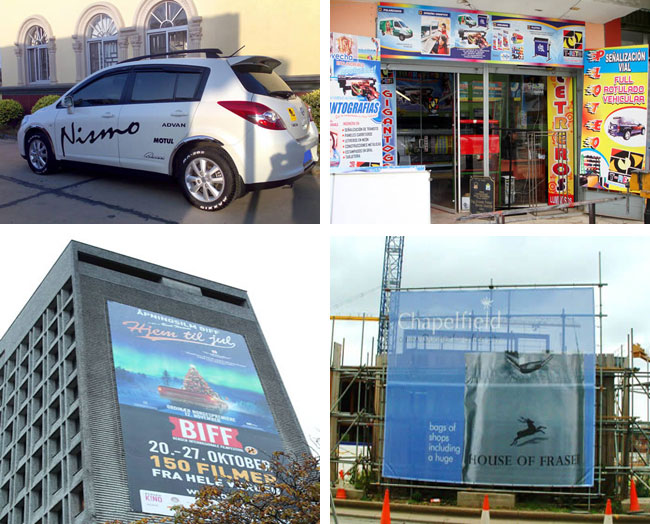
For all the outdoor advertising prints on light box,bill board,high way,vehicle,buildings.